Let’s dive into the nitty-gritty of laboratory fume hood testing. Testing is vital in ensuring that our hoods are functioning as they should, providing us with reliable protection from potential hazards. So, how do we go about it properly? Let’s explore!
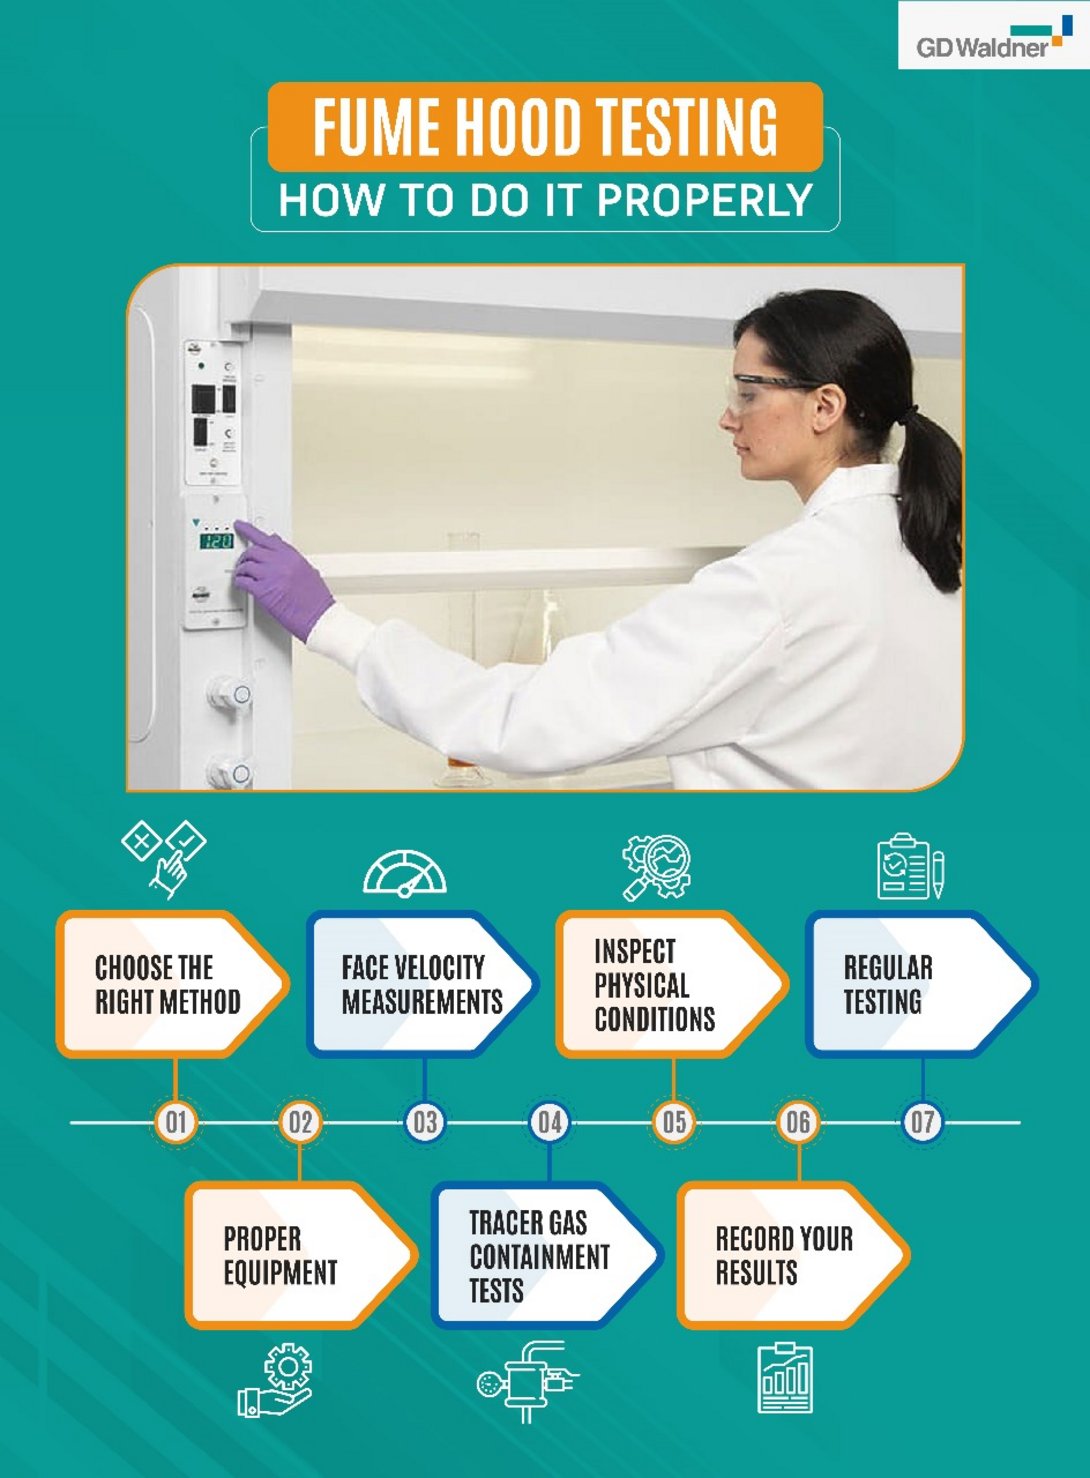
1. Choose the Right Method: The method of testing your fume hood can depend on the type of hood and the requirements of your local regulations. In general, we are most concerned about containment. In fact, testing that doesn’t include containment testing is mostly useless. Make sure to select the testing method most appropriate for your setup.
2. Proper Equipment: You'll need some tools to conduct these tests. An anemometer is crucial for measuring face velocity, while a mannequin (yes, really!) and a tracer gas detector are often used in tracer gas tests. Tri-Color Airflow Visualizer allows for dynamic containment testing and is simple easy and cost effective. Remember, accurate tests need accurate equipment.
3. Face Velocity Measurements: Face velocity is a measure of how much air is being pulled into the hood, and it's a key factor in its ability to contain fumes. This should be tested with the sash in its normal operating position. Use your anemometer to take measurements at various points across the hood opening, then calculate the average to get your face velocity. Simple face velocity averages are not very telling. For Face Velocity to be useful, you really need to do a Face Velocity Profile. This is a process of creating a grid across the sash opening of squares of about 12. Then do at least 20 readings in each cell one every second. Then average the averages of the cells to determine the average, the highest and lowest reading. When the cell values are more than +/- 10% of the average, the hood is very turbulent and requires additional testing.
4. Tracer Gas Containment Tests: This test checks how well the hood contains and removes fumes. In a typical setup, a mannequin is positioned at the hood, with a tracer gas emitter mimicking a 'source' of fumes in the hood. A detector is used to measure any tracer gas that escapes the hood, indicating how effectively it's containing the fumes. The common gas is SF6 (Sulfur Hexafluoride) which is very expensive and environmentally harmful. An alternative to SF6 is the Tri-Color Airflow Visualizer, it uses Haze and lasers to give you a very visual indication of fume hood performance.
5. Inspect Physical Conditions: While you're testing, also check the physical condition of the hood. Look out for any damage to the sash, seals, or interior of the hood, and check the baffles for any blockages.
6. Record Your Results: Always document your test results, including the date, test conditions, and any observations. This record is important for tracking your hood's performance over time and can be crucial if any issues arise. We offer an online tool for this, it is called the “Fume Hood Performance Tracker”.
7. Regular Testing: The golden rule of fume hood testing is regularity. It's generally recommended that fume hoods be tested at least annually, but certain conditions may require more frequent testing. Always adhere to local regulations and manufacturer recommendations. If you want to test between formal tests, doing a face velocity profile is the best test you can do
yourself.
Remember, while in-house testing is valuable, some situations call for professional testing services, especially if your tests indicate potential issues. It's all part of ensuring we're creating the safest possible environment for our important work.

